Showing posts with label Baby. Show all posts

Friday, June 29, 2012

Tips for Dyeing Onesies

Back in May, I had a freezer cooking day and dyed some onesies at the same time.  It was all in preparation for my sister's baby shower, where we decorated the onesies and gave her baby boy a new wardrobe.

So, this post is long overdue, but better late than never.  I wanted to record some of my experience dyeing the onesies so that I could remember for future use, and to share with anyone else who may want to try this fun technique.

Dyeing fabric really is easy, and doesn't have to be messy or ruin your washing machine.

I bought Rit Dye- I could not find this anywhere but Wal-Mart.  Target and grocery stores do not seem to carry it regularly.  A Target employee told me that they do have is on a "seasonal basis"- can someone please let me know when "dyeing season" is?  :)


I also used the Denim Blue dye, but didn't get any photos of that session- but just so you know, the Denim Blue is a really nice shade of blue for baby boys, too!


I poured the entire bottle of the dye into a large stainless steel stock pot. We received a set of stock pots as a wedding gift over seven years ago.  I'm sure the person who gave them to us imagined us cooking a large part of gumbo in them (we lived in New Orleans when we first got married), but leave it to me to use it for crafting, right?  Make sure your pot is stainless steel or aluminum- not plastic as the dye will stain plastic.

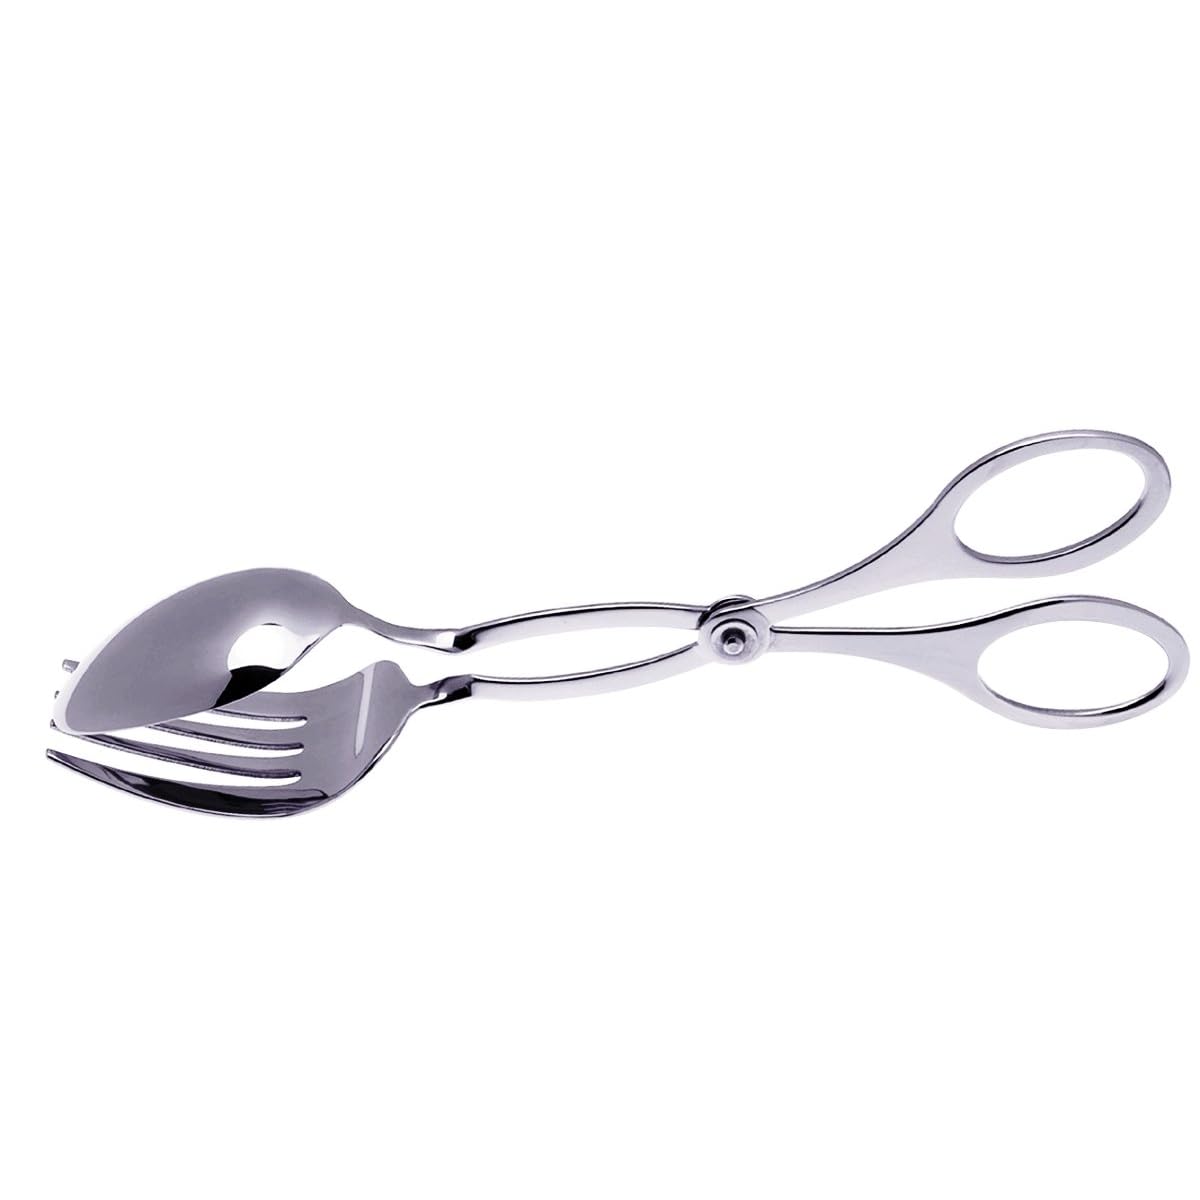
I also used a wooden spoon for stirring (which is now stained) and a pair of stainless steel salad tongs in this process.
   
Back to the pot- Pour the entire bottle of Rit Dye in.  Fill with the hottest tap water that will come from your sink.  Stir VERY well.  This is crucial to evenly dyeing.  

Set your pot on the counter, stovetop, wherever you want to dye.  You do NOT have to put it on a warm stove.  I never turned the stove on.

Wet your onesies with the same warm-hot tap water from your sink.  Wring them out so that they are damp and add them to your pot one by one. Stir the onesies really well and set your kitchen timer for ten minutes.


You will need to stir this pot every ten minutes.  That's why this was such a perfect project for freezer cooking day- I was already in the kitchen working and just reached over to stir the pot as the timer beeped.  After about 90 minutes, I did decrease the frequency to 15 minutes.  

The salad tongs were really helpful during this process as it enabled me to actually pick up each onesie and roll it around in the pot.  I could also make sure the onesies on the bottom were getting turned and dyed evenly, too.


It is much more difficult with a dark color dye- basically anything except yellow - because you can't see the onesies in the pot. So, if you're starting out, I'd recommend yellow first.  

One onesies, the polyester thread will not take the dye.  I like this effect, but keep it in mind while dyeing.


I continued to stir every 10-15 minutes for 5 hours.  I wanted bright, vibrant colors that wouldn't fade after washing, so I let them sit for a lllllooooonnnnnggggg time.  It was worth it!

When your five hours (or however long you let them dye) is done, rinse the onesies in cold tap water and then throw them in the dryer on high.  Once dry, wash as usual without any other colors at least two times (maybe three- depending on the color saturation).  Dry on high in the dryer.


Curious about how we painted the onesies?  See this post.  
Pin It! Buffer

Monday, June 11, 2012

Deborah's Car Seat Canopy

It is always a joy to celebrate with friends who are expecting a baby, but even more joyous when it is their first.  Everything seems so new, so fresh, a little scary, yet so exciting.


My friend Deborah is expecting her first baby- a girl- in just a few weeks.  Deborah is full of life, and you'll hardly ever see her without a smile on her face.  Back in January, I went to a women's retreat at our church.  I remember talking with Deborah and answering her candid questions about pregnancy and motherhood.  Her joyous embrace of all the pregnancy symptoms encouraged my spirit.  Her blog post announcing her pregnancy is one I can hardly read without tears welling up in my eyes, followed by a full heart of gratitude to our great God.  I encourage you to grab a tissue and click here.


I made a car seat canopy for baby girl.  The fabric is from JoAnn's.  It is lined with a deep purple solid that is soft and will help to keep out the sun, too.


Learn more about my car seat canopies here and here.


I added one of my fabric labels to the strap.  Learn how to make them here. 


I also added a postcard which includes and explanation of its use and washing instructions.  I ordered these from Vistaprint.


Here's to hoping sweet baby girl sleeps soundly in her car seat, stays away from germs and rain, and enjoys the view of the pretty purple lining!
Pin It! Buffer

Sunday, June 10, 2012

Church Nursery Sewing Project


This week I've been working hard on bedding items for our church nursery.  You see, we've been meeting for years in another location and have longed for the day when we have a building to call our own.  It's been a long process, but God has been so very faithful.

Today, our church met in its own building for the very first time.  It was amazing.


And I'm humbled to be able to contribute a small piece of my talents and abilities to this incredible work of God.  After all, everything I have is His anyways.


So, I made five crib sheets, which are actually large pillowcase-type sheets.  This was at the request of the nursery workers- they like to be able to flip over the mattress in the crib if it gets soiled or "germed" by another baby.  If you ask me, that's much easier than changing the crib sheet!  Genius.


To coordinate with the sheets, I made blankets.  They are double sided- one side with a colored background with white polka dots and the other side with a white background and colored polka dots.  I make these blankets 45"x45", which is the perfect size for a newborn or infant.  My grandmothers made many blankets for my own children this size and I loved them- they seem to be so much better than the thin rectangular shaped store-bought blankets.  I also love that they are double, and although both fabrics are cotton, it will keep babies just warm enough in hot and sunny Florida.  :)


I chose to experiment with the decorative stitching on my sewing machine for this project.  It's subtle, but I like the extra handmade touch it adds to the edging of the blankets.


I used the leftover fabric to make a handful of bibs, too.  Just in case a mom forgets to throw one in the diaper bag, or a baby goes through a drooling fit in the nursery, or for those first bites of peas.  I'll share more this week about how I got the images for the bibs and a link to the pattern I used.


Curious about my church and our new building?  See the links below.

Church Website and Blog
Two Ways To Live
Pin It! Buffer

Monday, May 21, 2012

Freezer Paper Onesies Baby Shower

This past weekend I flew to Alabama for a very special reason- to see my sister who is expecting her first baby this fall.  And, I couldn't just see her without a celebration, so I joined some friends of hers and we crafted, ate, shared, prayed and partied!


Freezer paper onesies are such a simple way to add a craft to a baby shower or even a way to add a no-sew handmade item to a baby gift.  I originally posted about freezer paper onesies here, which has become one of my most popular posts.  It has been featured on countless blogs and sites and I've enjoyed hearing your stories and feedback about your experiences.

You only need a few basic supplies for this project:
  1. Onesies
  2. Freezer Paper
  3. Acrylic Paint
  4. Paint Brushes
  5. Posterboard
  6. Iron
  7. Washer and Dryer
Here's the short instructions, but read further if you want my details and tips.
  1. Wash onesies.
  2. Cut out shapes, images or words from freezer paper.  
  3. Iron freezer paper onto onesies (no steam) shiny side down.
  4. Insert posterboard into onesies.
  5. Use acrylic paint to add color to onesies inside the stencil.
  6. Let paint dry and remove stencil after it is dry.
  7. Put onesies in the dryer.
  8. Wash as usual.
Long Version with details tips and tricks:

Originally, I cut out the stencils by hand with an Exacto Knife, but this time, I chose an easier route.  I do not have a Cricut or Silhouette, so I began brainstorming ideas about how to cut out shapes without these helpful tools, and without doing them all by hand!  My sister had an amazing idea- an Ellison Press!

An Ellison Press is a tool that is owned by most schools, some libraries and teacher resource stores.  The main part is the press, and each facility purchases individual "dies" or "blocks" which contain shapes, letters, numbers or images.

I called my son's school and kindly asked if I could use the Ellison Press if I brought my own paper.  They graciously agreed, and I was able to cut nearly 50 images from freezer paper in less than 30 minutes.  It saved me so much time!


Once I got home, my husband and I ironed the freezer paper (shiny side down) onto the onesies to create the stencil.  I packed 30 onesies with freezer paper iron-ons into my suitcase and headed to Alabama, hoping that security wouldn't open my suitcase and wonder how crazy I must be!

Ironing tips:  Make sure to set your iron to no-steam.  Also make sure to move the iron slowly over the edges of the stencil.  It is super-important to get a good strong seal between the stencil and the onesie, particularly for where they meet.  This will help your paint to not run under the onesies and keep your image krisp.

I chose to use the negative space on some of the onesies, so I used a circle cutting tool to cut a large circle and placed the Ellison Press image inside the circle.  This was a nice twist on the onesies- so they weren't all just an image on a onesie.


At the baby celebration, I hung the onesies on a line of twine with clothespins and set out paint.


I did insert a piece of posterboard inside each onesie.  This is important because it keeps the paint from bleeding through to the back of the onesie.  Keep the paper in the onesie until the paint is fully dry.


I chose to put the paint in clear plastic cups.  Originally, I thought I would put it on paper plates but cups seemed to be a much better option for mess and clean-up.  I use acrylic paint, and although many sites suggest using textile medium, I do not use that.  I tried, but it made the paint very runny and honestly, my onesies are just as soft without the textile medium.


As guests arrived, they selected a onesie and a paint color.


My sister really wanted to know who painted each onesie, so I added a blue circle tag to each one for guests to write their name.


Using foam brushes, each guest painted inside the stencil.


Some painted with a single color, and others used more than one color.


Once all the onesies were painted, they were hung up on the line and left to dry while we socialized, ate and partied.


After we were done with the indoor festivities, I snuck back out onto the patio and started removing the stencils.  As people realized what I was doing, they were shocked at how amazing the onesies looked.  They couldn't believe they had painted such a great image onto baby clothes.  Most of all, my sister loved them and baby boy is so excited about his new onesie wardrobe!


Once we got home, I dried the onesies in the dryer, and then washed and dried them all.  The paint is soft, not stiff, and the colors are bright and vibrant.


Would you believe that 90% of these onesies started as white?  I dyed the orange, green and yellow onesies at my house prior to ironing on the stencils.  I'll share more about how I dyed them and some tips later this week.


Anyone else experimented with freezer paper stenciling?  What have you done and what are your tips?
Pin It! Buffer

Wednesday, February 15, 2012

Florida Gators Baby Gift

I recently attended a baby shower of a family member who is a University of Florida graduate.  Since my husband is also a graduate of UF, we have lots of Gator fabric on hand.  Remember my patio post?

So, I knew that Matt and Katharyne would love for their new little addition to have some "Gator Gear".


In addition to the hat I made with the Knifty Knitter, I gave this Baby Gator some Baprons, a reusable snack bag (made a little larger just in case it needs to hold a soiled outfit or two!), and a bow tie onesie.


I added one of my homemade fabric labels to the reusable snack bag, too.


But my favorite item, by far, was the bow tie onesie.  I found this idea here, and boy, OH BOY!, it is adorable!  I can't wait to make more of these!


Every newborn should have at least one bowtie, right?
Pin It! Buffer

Wednesday, January 25, 2012

Dalila's Baby Gift

My cousin Charlie married a super sweet girl named Dalila, and they are expecting their first baby (a girl!) in a few weeks.  So, naturally, I made a gift to send the shower.  Sadly, I couldn't go since I lived out of state.  :(

I made a baby sling, a nursing cover, two baprons, and a diaper changing roll.  I used two different fabrics that I found at JoAnns.


I absolutely love sewing for babies and love sending gifts to family.  I wish Charlie and Dalila all the best as they move to a family of three!
Pin It! Buffer

Thursday, January 12, 2012

Easy Tutorial: How to Make a Diaper Changing Roll

This is one of those things that I really should make more often.  Seriously, every time I make a diaper changing roll for a baby gift, I think (and sometimes say out loud), "I should really make more of these."  They are so easy, quick and a practical gift, too.


This diaper changing roll is for a baby gift- I've got oodles of friends and family members pregnant right now, so I'm working on keeping up with the babies!  They are great to throw in the diaper bag and to always have a clean space to change baby.  Throw it in the washer when it gets soiled, or use it as a back-up burp cloth in a bind.

So, let's get started.... this tutorial is so easy and great for beginner sewers.

You will need:
1 hand towel
1 piece of fabric the same size of your hand towel (usually a fat quarter will do)
1 piece of 1/4" wide elastic measuring about 10 inches long
thread
sewing machine
pins
iron
ruler


I usually use the ReStyle brand hand towels from Target.  They measure 16 inches x 25 inches, but you can use whatever you like.  You could even use a bath towel and cut it to a custom size if you wanted.


Put your two pieces down right sides together.  If you want to embellish or embroider your changing pad, do it prior to this step.  Pin all the way around and mark about a 3" space to leave open for turning.

One on of the shorter edges, insert your elastic with both raw edges facing out and the loop hidden in between your towel and fabric.  To determine the best placement for your elastic, I fold the diaper changing pad in thirds (so that you have one very long strip), and then find a mid point on the bottom third section.  Secure with pins.  Sew around, making sure to backstitch at the opening.


Make sure that you stitch on the terrycloth part of your towel, not the hemmed edge.  This is important because it reduces bulk in your changing pad and makes it softer on the baby's skin.


Now we want to cut off the hemmed or finished edge of your towel.  At this point things will get very messy- all of the little terry cloth strands will cover your work area so get ready!


Now that you've removed all the finished edges (and made a mess!), it's time to turn your changing pad right side out.

BUT- before you do this, make sure your elastic is good and sewn in.  Sometimes I go over it a few times with my backstitch to be sure.


Now that you've tugged on it a few times, remove all your pins and use the space you left to turn it right side out.


Press out all corners with a wooden stick and iron well.


Pin the opening closed.


Check on your elastic one more time.... give it a few good pulls.  Make sure it's not going to pop on mom or baby.  :)


Topstitch around the entire changing pad, closing the opening you pinned together.

Now let's fold and roll!

Lay out your changing pad with the towel side up and the elastic away from you.


Fold the left third of the changing pad towards the center.


Fold it over one more time so that the towel is all concealed inside.  Turn the elastic towards you.


With the non-elastic short side, start rolling the changing pad towards you.


When you get to the end, wrap the elastic around the entire changing pad and give it to a new mommy!


The way the changing pad swirls reminds me way too much of a cinnamon roll!  :)


Variations:
Add a layer of batting (you will need to add more elastic as your roll will be much thicker)
Embroider or embellish the fabric
Use oilcloth instead of cotton fabric for a wipe-down clean surface

Please leave any questions in the comments- this is such an easy project that I'd love to help out any beginning sewers who have questions.  Thanks!
Pin It! Buffer